How to mount a room sensor?
The room sensors of Sentera are intended for wall installation indoors. The front cover of the sensors is made of ASA (Acrylonitrile Styrene Acrylate) plastic, known for its high-resistance to UV radiation, harsh weather conditions and impact. The discreet design of the sensors is achieved through the ivory (RAL 9010) colour of their front cover. The rear plate of the sensors is made of ABS (Acrylonitrile Butadiene Styrene) plastic, which is impact-resistant, robust and durable. The rear plate, which is in a black (RAL 9004) colour, fits perfectly with the front ivory cover, creating an enclosure suitable for any home regardless of interior style and wall colour.
The enclosure provides IP30 protection, which is appropriate for indoor applications where exposure to dust and moisture is minimal.
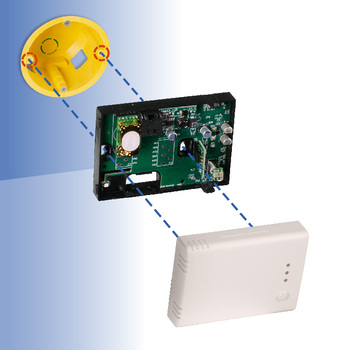
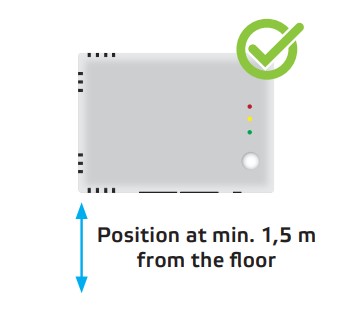
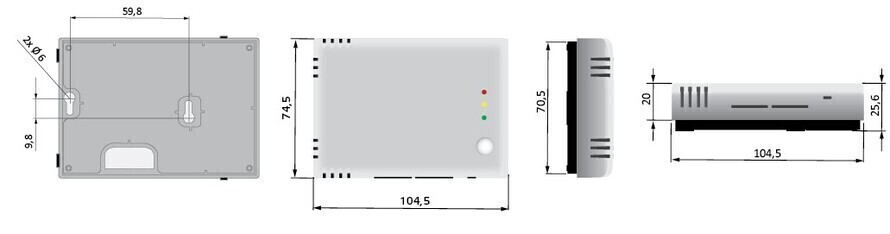
The sensors of Sentera are designed for wall installation and their enclosure features two mounting holes with dimensions suitable for installation on a European wall-mounting socket. Before proceeding with the mounting steps, make sure that the mounting location for the sensor is at least 1,5 metres above the floor level and the mounting dimensions of the device are considered. For personal safety, always disconnect the power supply before connecting, servicing or repairing the product.
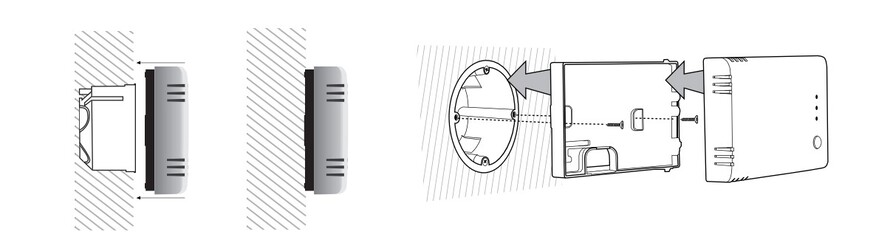
First, the front cover of the device needs to be removed. For that matter, use a flat screwdriver and release the snap-fits on both sides of the cover to remove it.

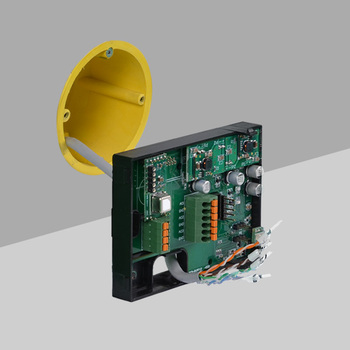
Second, insert the cables through the hole at the back of the device and make sure that the wire size is appropriate.
Then mount the sensor on the wall by using suitable fastening materials. For personal and equipment safety, ensure that the screws are well tightened. Also, remember to mind the correct mounting position of the device.
Third, do the wiring according to the wiring diagram in the mounting instructions of the device, which can be found on the device page on the Sentera website.
Finally, snap the front cover back in place and switch on the power supply to test the installation.